I'm SUPER excited to have figured out a way to store and display the ukuleles in my classroom! Prior to this solution, ukuleles were stored in an old milk crate and were difficult to get out and use.
The classrooms in our school have these hooks installed for student coats/sweatshirts, backpacks, book bags, etc. As a music teacher, students come to my room without those, except for the coats and sweatshirts part. Students usually keep their outerwear with them at their seat though, so the hooks were never used. Space in my music classroom is at a premium, so I wanted to utilize this area. Plus, I think it looks cool to have them organized and visible like this! When I received my second set of ukuleles, my goal was to figure out how to hang them so they could be displayed and accessed by the students.
The trouble I found was:
- The double-hooks were too narrow and shallow to hold the uke necks without making some alterations.
- The number of hooks on the wall (30) made it difficult to hang the ukes flat, without hitting another hook.
I found some lovely ukulele trees, stands, hooks and DIY ideas on Pinterest. I pinned several! After watching this
DIY video on how to make my own ukulele wall hanger, I set out to find the nearest Harbor Freight store which I had never set foot in before this. Once there I roamed the aisles and asked three different employees to help locate the U hooks. I think the trouble was they aren't called U hooks. Ooops! I finally found the "heavy duty tool hooks," and they were exactly what I wanted. You can find them
here. They LOOK like a "U hook" though, don't they?
My plan was to remove the existing classroom hooks from the wall and attach a long 2x4" board to the wall where I would screw in the heavy duty tool hooks. I pondered this idea again as well the amount of work it would require while standing in the middle of the Harbor Freight aisle. Somehow the enthusiasm I felt upon finding the hooks was now being replaced by the dread of tackling such a large job with very limited time. Just then, the clouds parted and another product caught my eye. Hmmm. Could it work?
For a fraction of the cost I could buy
hook and loop cable ties, wrap them around the first set of tuning pegs, and hang them from the hooks!
 |
| Slide the cable tie underneath the strings of the first set of pegs, and connect in back. |
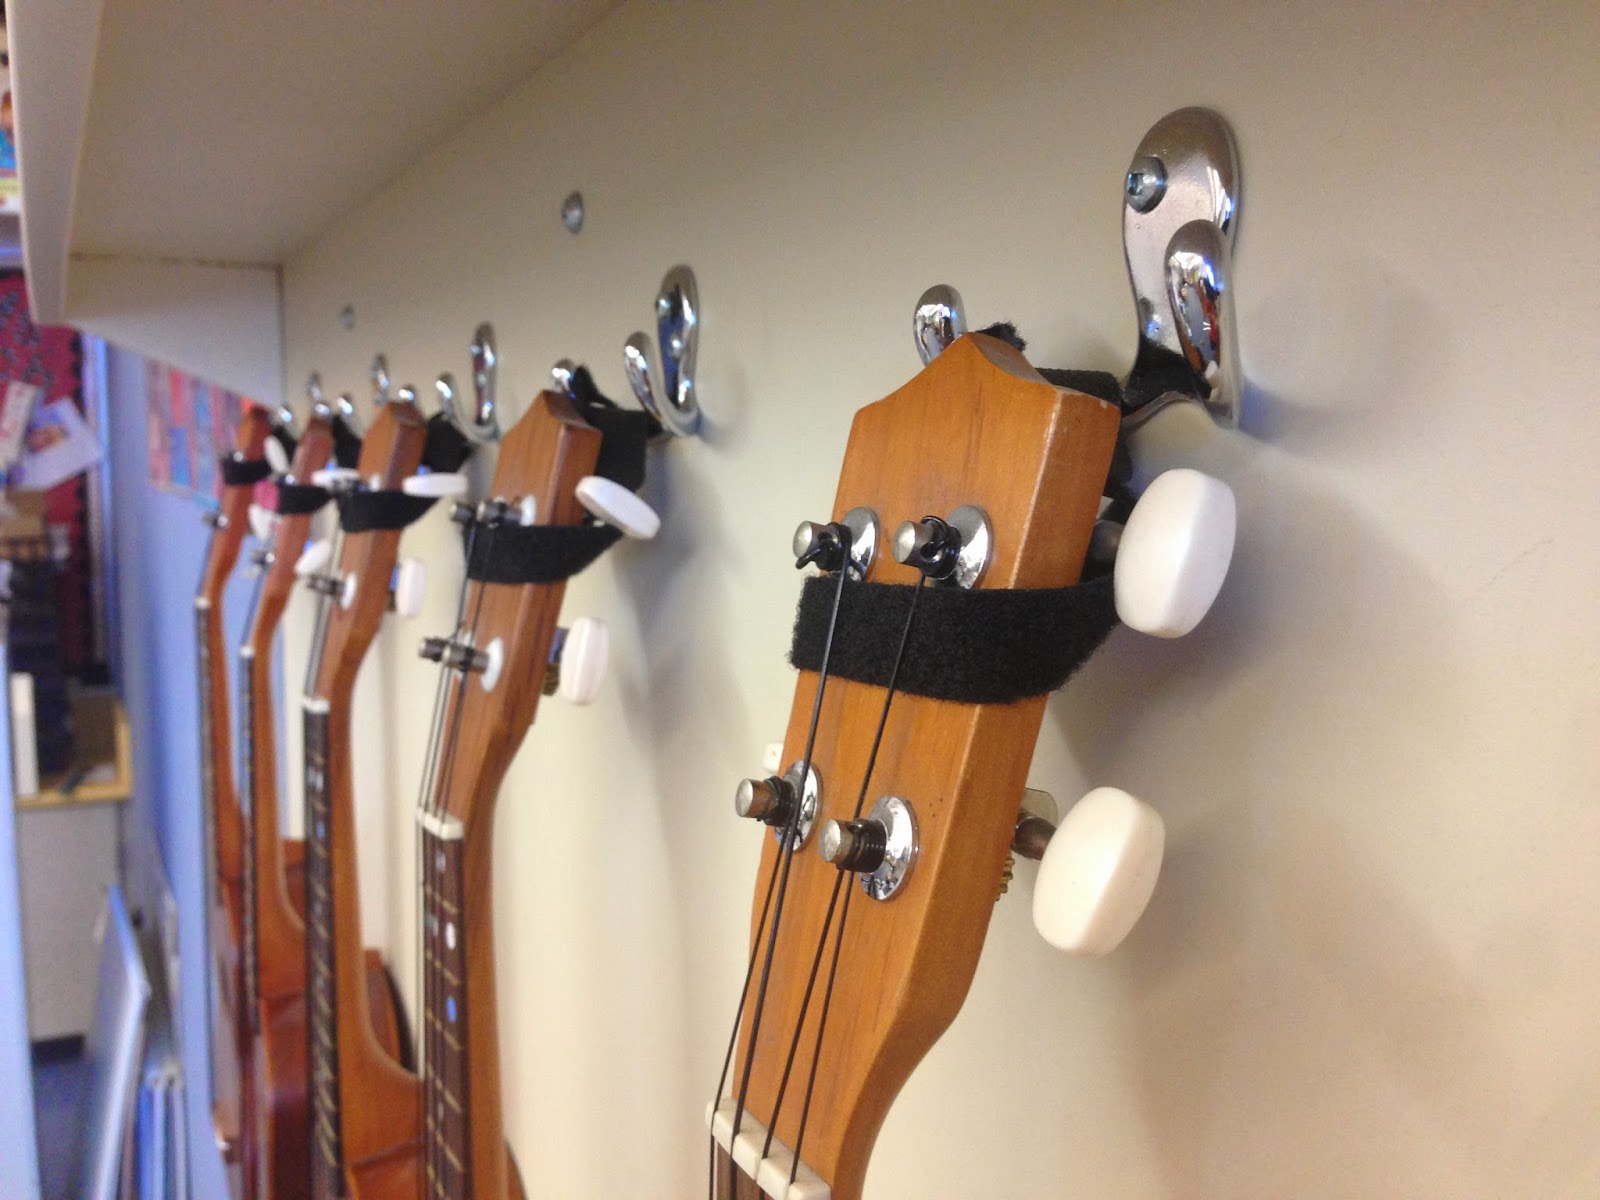 |
| It hangs on ONE of the hooks, because the tie isn't long enough to wrap around both hooks. |
 |
| This is what the package looked like from the store. |
Hanging the top row of ukuleles went great! I only had to maneuver each ukulele a little to avoid bumping into the hooks near the body.
The challenge came when trying to figure out how to hang the second/lower row, because the hooks did not line up in the right spots for the ukuleles to fit! Grrrrr. It had been going so well. Fortunately, I was in MacGyver mode and thought about those
Command hooks I had purchased for something else.
I measured how much space I'd need and began sticking the Command hooks in between the ukuleles above and the existing hooks below. Good thing I read the directions that said to have them to adhere to the wall for at least an hour before hanging anything from them. Anyway, as you can see they worked great!
I hope this helps if you are looking for a relatively simple way to access and display multiple ukuleles, too!


